Non-Alc Brewing with Breakside + Berkeley Yeast
This conversation with some of the best minds in brewing will provide you with a comprehensive overview of everything you need to know to get started crafting great tasting NA beer at any scale with maltose negative yeast.
In this comprehensive webinar, experts from Breakside and Berkeley Yeast discuss the nuances of brewing nonalcoholic beer. The session covers the process from recipe formulation, including malt selection, mashing techniques, and hop utilization, to critical considerations in food safety and stabilization. Anthony, Tim, and Ben share their extensive knowledge on yeast fermentation, tackling challenges, and maintaining product stability through pasteurization and pH management. The discussion also delves into innovative practices to enhance flavor and body, making non-alcoholic beers enjoyable and commercially viable. This informative session also includes a Q&A segment addressing practical brewing concerns.
Topics Covered
- Why maltose negative yeast
- Recipe targets
- Hot side and cold side processes
- Hopping strategies
- Safety
- Audience Q&A throughout moderated by Jamie Bogner
Guests
- Ben Edmunds, cofounder and brewmaster at Breakside Brewery
- Tim Sciascia, cofounder of Cellarmaker and brand ambassador at Berkeley Yeast
- Anthony Bledsoe, vp product strategy at Berkeley Yeast and former innovation manager at AB InBev
Recipe: Tim Sciascia’s NA West Coast IPA
Brewing a tasty nonalcoholic beer is dramatically different from brewing one of normal strength—but this recipe provides a great jumping-off point for making something pleasurably hoppy but without the alcohol.

If this is your first attempt at brewing NA beer, we suggest sticking closely to the recipe. Get the basics down first, then tweak from there. For more tips, see “Nonalcoholic Brewing Best Practices.”
In this recipe, Berkeley Yeast’s NA Classic strain makes it easy to restrain the ABV while creating the characteristics of a normal-strength beer. Meanwhile, judicious hopping and an addition of Abstrax extracts and natural flavors make for an aromatic, properly balanced IPA character. Remember: Following key food-safety measures—especially important in a no-/low-alcohol beer—will result in a safe product.
ALL-GRAIN
OG: 1.024 (6°P)
FG: 1.020 (5°P)
IBUs: 35
FINAL pH: ≤ 4.2
ABV: 0.5% or lower
MALT/GRAIN BILL
70% North American 2-row
20% Malted wheat
10% Dextrin malt
HOPS & ADDITIONS SCHEDULE
Your favorite IPA bittering hop to make up what you don’t get from the whirlpool addition at end of boil
0.75 lb (340 g)/bbl Citra T90 at whirlpool
0.75 lb (340 g)/bbl Mosaic T90 at dry hop
0.5 oz (14 g)/bbl Abstrax SIM Quantum Brite (extracted from Simcoe) post crashing
0.2 oz (6 g)/bbl Abstrax CHIX447—Omni Hop Profiles (mimics the profile of Chinook) post crashing
0.15 oz (4 g)/bbl Abstrax Pineapple—Skyfarm Series post crashing
0.15 oz (4 g)/bbl Abstrax Mango—Skyfarm Series post crashing
YEAST
DIRECTIONS
Mash in at 160°F (71°C). Rest for 10 minutes, then mash off. Target a mash pH of 5.1. Vorlauf as usual, but before beginning the sparge and lauter, you need to find a way to keep the wort runnings’ pH from elevating. With so little grain to buffer the pH rise from the sparge, you will very quickly begin to extract harsh tannins from the grain. Either adjust your sparge water with a hefty dose of acid or add some acid to the top of the mash (and continue to add it over and over during sparging). Don’t worry if your start-of-boil pH is lower than you are used to. You want a pH of 5.0 or lower going into the fermentor to help slow growth of any microbes (if any) besides the yeast.
Boil for 60 minutes or more depending on how vigorous your boil is. At the end of the boil, bring your wort temperature down below 200°F (93°C) either by running it through a heat exchanger or adding city water or cold liquor. A good target is between 190° and 200°F (88° and 93°C). Then add your whirlpool hops. Ignore the desire to go lower in temperature even if you regularly do so with normal-strength IPA. Hops are vectors for bacteria, so letting the heat kill any microbes before fermentation is essential. Check your wort pH before you knock out. Lower it to 4.9–5.0 with food-grade acid. Low pH on the cold side will slow the growth of pathogens.
Chill the wort to 68°F (20°C), aerate to 8–10 ppm, pitch your NA Classic yeast (pitch rate: 1.5 million/ml/°P), and set your tank to 68°F (20°C). A large pitch rate will result in a faster fermentation of about 1–3 days, which is a good thing. As we mentioned before, less time warm is better! We also advise you to add a small amount of ALDC enzyme at the beginning of fermentation to reduce tank residence time. At the end of fermentation, remove the yeast. Do not repitch. Microbial carryover to a second batch can result in a product that could spoil your beer or make people sick. Adjust your pH even lower to further safeguard against pathogens: a pH of 4.0 is safe, 3.7 pH is safer.
Dry hop, then crash the tank immediately for two reasons: 1) any hop creep can put your beer out of spec; 2) adding hops can add some bacterial load, so getting cold fast is advantageous.
Cold condition, but do not set your tank temperature lower than 36°F (2°C) or you may freeze your beer, resulting in an increase of alcohol in the liquid fraction. Continue to shave off settled hops and yeast daily. To add more hop aroma and top notes to this NA IPA, use Abstrax brand extracts and flavors. Adjust sweetness and body with brewer’s crystals and/or maltodextrin.
Carbonate as high as your packaging line or your packaging medium allows you to (or your pasteurizing process allows). Filter your beer if it is going to undergo pasteurization, then tunnel or batch pasteurize. Bottle or can your beer.
BREWER’S NOTES
Mash
Mash in as you would with normal-strength beer. Depending on the diameter of your mash tun and because there is so little grain in a recipe of this gravity, you may need to add more grain to fully cover the bed. If that is the case, cut off your lauter early and water back in your kettle to keep your gravity in spec. You can also add rice hulls and keep the grist the same. Both of Berkeley Yeast’s NA strains are Saccharomyces strains from which the ability to ferment maltose and maltotriose has been removed. With this in mind, we are looking for extract from our mash that contains very little glucose to ensure a very small amount of fermentation.
Purge the Fermentor
Use CO2 or Nitrogen to remove the air from the headspace of the fermentor after wort transfer. Due to the low degree of fermentation the headspace may not be fully scrubbed of Oxygen by the fermentation’s CO2 production resulting in premature oxidation of the beer.
Hot-Side Hopping
Because of the lack of ethanol and low starting gravity of this beer, you will need to keep overall hopping low. That being said, hot-side-hopping flavor carries over to the final product in a recognizably authentic way, so experimentation with kettle hops is a great method to make your beer stand out. The suggestions under “Hops & Additions Schedule” above is a good starting point. Target 35 IBUs.
Fermentation
As you head into fermentation, you are leaving the safety of the hot side. It is imperative from this point on to minimize process touches and transfer distances. Make sure your beer leaves the danger zone of fermentation temperature as soon as possible, especially if you are dry hopping or adding any nonsanitary ingredients. Once the beer is cold, the growth of pathogens will be slowed.
Dry Hopping
NA beers have so little ethanol and minimal body that the bitterness and astringency from dry hopping can quickly overwhelm the beer. For this reason, the dry-hop rate is way lower than for a traditional IPA. However, there is nothing like the real thing, so a small addition of Mosaic gives you authentic dank aroma and flavor. We increase our aroma once the beer is cold with extracts and natural flavors.
Extract and Flavor Additions
Once the beer is cold, you have some time to experiment. The NA space provides a new playground for brewers to trial new techniques and additives to improve the flavor, body, and perception of this style. If you are going to diverge from this recipe, now would be a good time to do some bench-top trials and see what works for your brewery and brand. Keep bench trials to only a few days and always get to final processes as soon as possible.
We use Abstrax brand extracts and flavors. Minimizing the vegetative matter in this recipe provides a smoother drinking experience. If using “natural flavors” isn’t your thing, consider that NA beer production could be more closely associated with beverage production as opposed to traditional beer brewing.
Be mindful of any of the flavors you use. They might be alcohol based, so alcohol pick up from their addition needs to be calculated. The Abstrax products here are 100 percent alcohol-free. Adjust sweetness and body with brewer’s crystals and/or maltodextrin.
Body Enhancements
Only employ these additives if you are going to sterile filter and/or pasteurize the product. We highly recommend tunnel or batch pasteurization for microbial stability. Undergo bench-top trialing to find your proper blend and amounts.
Carbonation
Good news! Recent research suggests that carbonic acid has bacteriostatic properties against major pathogens. Higher carbonation can increase the “normal-strength beer” perception of NA beer.
Clarification
We recommend that you filter your beer if it is going to undergo pasteurization because leftover organic material and yeast can form staling and autolysed flavors from the elevated temperatures during pasteurization.
Pasteurization
The gold standard to protect your customers from potentially unsafe beverage conditions is tunnel pasteurization. You can reach out to us at support@berkeleyyeast.com for a list of regional co-packing facilities that have pasteurizing technology. If tunnel pasteurization is not an option, please refer to the video below for further information on safeguarding your beer or email us for further food-safety and recipe tips and tricks.
Packaging
Only bottle or can your beer. Draft beer provides many points within and outside of the brewery atmosphere for bacterial pick up.
Safety
For more tips, see “Nonalcoholic Brewing Best Practices.”
About the Author
Tim Sciascia was hired in 2008 as a cellar person at Marin Brewing Co. north of San Francisco. Over five years, he moved up through the cellar and filtration positions, finally becoming the assistant brewer.
In 2013, Tim cofounded Cellarmaker Brewing Co. as the director of brewing and blending. Over 11 years, he helped grow Cellarmaker to nearly 6,000 barrels on dual 15- and 20-barrel systems. Hops and barrel-aged strong ales have always been of particular interest to him, and he has fermented award-winning beers with Berkeley Yeast strains for more than five years. Tim is now brand ambassador at Berkeley Yeast.
Recipe: Tim Sciascia’s NA Light “Lager”
Drinkers who are familiar with American light lager will be impressed by this crisp nonalcoholic version. Even more amazing, nonalcoholic beer production’s shortened fermentation can move this “lager” from grain to glass in as little as one week.

If this is your first attempt at brewing NA beer, we suggest sticking closely to the recipe. Get the basics down first, then tweak from there. For more tips, see “Nonalcoholic Brewing Best Practices.”
In this recipe, fermentation with Berkeley Yeast’s NA Classic strain substantially minimizes the wort-like character typically remaining after fermentation with other NA yeast strains; a large dilution with water in the kettle before boiling creates a smooth beer with a very clean profile. Remember: Following key food-safety measures—especially important in a no-/low-alcohol beer—will result in a safe product.
ALL-GRAIN
OG Pre Dilution: 1.021 (5.3°P)
OG Post Dilution: 1.016 (4.1°P)
FG: 1.013 (3°P)
IBUs: 10
FINAL pH: ≤ 4.2
ABV: 0.5% or lower
MALT/GRAIN BILL
70% North American 2-row
15% Vienna malt
15% Dextrin malt
HOPS SCHEDULE
0.25 lbs (113 g)/bbl Crystal T90 at 30 minutes
YEAST
DIRECTIONS
Mash in at 160°F (71°C). Rest for 10 minutes, then mash off. Target a mash pH of 5.1. Vorlauf as usual, but before beginning the sparge and lauter, you need to find a way to keep the wort runnings’ pH from elevating. With so little grain to buffer the pH rise from the sparge, you will very quickly begin to extract harsh tannins from the grain. Either adjust your sparge water with a hefty dose of acid or add some acid to the top of the mash (and continue to add it over and over during sparging). Don’t worry if your start-of-boil pH is lower than you are used to. You want a pH of 5.0 or lower going into the fermentor to help slow growth of any microbes (if any) besides the yeast.
Your wort should be at a concentration of 1.021 (5.3°P). Dilute it by about 23 percent to achieve a start-of-boil gravity just under 1.016 (4.1°P). Boil and concentrate to 1.016 (4.1°P) over an hour. Once you reach the correct concentration, boil for 60 minutes or more depending on how vigorous your boil is, adding hops according to the schedule. Check your wort pH before KO. Lower it to 4.9–5.0 with food-grade acid. Low pH on the cold side will slow the growth of pathogens.
Chill the wort to 68°F (20°C), aerate to 8–10 ppm, pitch your NA Classic yeast (pitch rate: 1.5 million/ml/°P), and set your tank to 68°F (20°C). A large pitch rate will result in a faster fermentation of about 1–3 days, which is a good thing. As we mentioned before, less time warm is better! We also advise you to add a small amount of ALDC enzyme at the beginning of fermentation to reduce tank residence time. At the end of fermentation, remove the yeast. Do not repitch. Microbial carryover to a second batch can result in a product that could spoil your beer or make people sick. Adjust your pH even lower to further safeguard against pathogens: a pH of 4.0 is safe, 3.7 pH is safer.
Set your tank to 36°F (2°C), but no lower or you may freeze your beer, resulting in an increase of alcohol in the liquid fraction. Continue to shave off settled hops and yeast daily. Adjust sweetness and body with brewer’s crystals and/or maltodextrin.
Carbonate as high as your packaging line or your packaging medium allows you to (or your pasteurizing process allows). Filter your beer if it is going to undergo pasteurization, then tunnel or batch pasteurize. Bottle or can your beer.
BREWER’S NOTES
Mash
Mash in as you would with normal strength beer. Depending on the diameter of your mash tun and because there is so little grain in a recipe of this gravity, you may need to add more grain to fully cover the bed. If that is the case, cut off your lauter early and water back in your kettle to keep your gravity in spec. You can also add rice hulls and keep the grist the same. Both of Berkeley Yeast’s NA strains are Saccharomyces strains from which the ability to ferment maltose and maltotriose has been removed. With this in mind, we are looking for extract from our mash that contains very little glucose to ensure a very small amount of fermentation.
Purge the Fermentor
Use CO2 or Nitrogen to remove the air from the headspace of the fermentor after wort transfer. Due to the low degree of fermentation the headspace may not be fully scrubbed of Oxygen by the fermentation’s CO2 production resulting in premature oxidation of the beer.
Lauter Process
Each brew house is different so it may take some trial and error to get the wort concentration right. Why not use less grain and forego the dilution? There is already so little grain in the recipe that a further decrease in grist size may be impossible to lauter properly and may also lead to higher astringency.
Hot-Side Hopping
Any NA beer should be carefully hopped. Because of the low ethanol, over-hopping will quickly overwhelm the beer. This easy-drinker isn’t relying on hops, but some presence will help mimic the character of normal-strength beer. The single hop addition gives us the bitterness we need after dilution and builds in a hint of hop flavor.
Fermentation
As you start fermentation, you are leaving the safety of the hot side. It is imperative from this point on to minimize process touches and transfer distances. Make sure your beer leaves the danger zone of fermentation temperature as soon as possible, especially if you are dry hopping or adding any nonsanitary ingredients. Once the beer is cold, the growth of pathogens will be slowed.
Cold Conditioning and Flavor Enhancement
Now that the beer is cold, you have some time to experiment. The NA space provides a new playground for brewers to trial new techniques and additives to improve the flavor, body, and perception of this style. If you are going to diverge from this recipe, now would be a good time to do some bench-top trials and see what works for your brewery and brand. Keep bench trials to only a few days and always get to final processes as soon as possible.
Body Enhancements
Only employ these additives if you are going to sterile filter and/or pasteurize the product. We highly recommend tunnel or batch pasteurization for microbial stability. Undergo bench-top trialing to find your proper blend and amounts. The dilution may have attained a spot-on color and clean, lager-like aroma, but you may need to build back in some body so as to not be too thin and watery.
Carbonation
Good news! Recent research suggests that carbonic acid has bacteriostatic properties against major pathogens. Higher carbonation can increase the “normal-strength beer” perception of NA beer.
Clarification
We recommend that you filter your beer if it is going to undergo pasteurization because leftover organic material and yeast can form staling and autolysed flavors from the elevated temperatures during pasteurization.
Pasteurization
The gold standard to protect your customers from potentially unsafe beverage conditions is tunnel pasteurization. You can reach out to us at support@berkeleyyeast.com for a list of regional co-packing facilities that have pasteurizing technology. If tunnel pasteurization is not an option, please refer to the video below for further information on safeguarding your beer or email us for further food-safety and recipe tips and tricks.
Packaging
Only bottle or can your beer. Draft beer provides many points within and outside of the brewery atmosphere for bacterial pick up.
Safety
For more tips, see “Nonalcoholic Brewing Best Practices.”
About the Author
Tim Sciascia was hired in 2008 as a cellar person at Marin Brewing Co. north of San Francisco. Over five years, he moved up through the cellar and filtration positions, finally becoming the assistant brewer.
In 2013, Tim cofounded Cellarmaker Brewing Co. as the director of brewing and blending. Over 11 years, he helped grow Cellarmaker to nearly 6,000 barrels on dual 15- and 20-barrel systems. Hops and barrel-aged strong ales have always been of particular interest to him, and he has fermented award-winning beers with Berkeley Yeast strains for more than five years. Tim is now brand ambassador at Berkeley Yeast.
Nonalcoholic Brewing Best Practices
Former Kona and Cellarmaker brewmasters have created the following guide to give you an advantage in a booming NA market.

Making nonalcoholic (NA) beer requires different techniques from traditional brewing, especially when using maltose-negative yeast (e.g., Berkeley Yeast’s NA Classic or NA Cabana), which ferments simple sugars but leaves maltose and maltotriose unfermented. Here’s a simplified guide to best practices for brewing NA beer.
Food Safety and Risk Mitigation
You need to treat NA beer like a perishable food product because NA beer lacks the natural protection against spoilage and pathogens that comes from alcohol production. The fermentation process produces less CO2 and less pH reduction and leaves more nutrients for unwanted microbes. From the time you cool your wort to the time you pasteurize, you are at an elevated risk.
- pH: Ensure the final beer pH is below 4.6 (even better if you are below 4.2; lower is always better, especially if pasteurization isn’t an option).
- Good Manufacturing Practices: Follow good manufacturing practices (GMP) and implement a robust sanitation program to limit contamination.
- Pasteurization: The gold standard is to pasteurize after packaging.
- Handling: Minimize the number of steps post-fermentation (e.g., dry hopping, fruit additions) to reduce contamination risk.
- Preservatives: Consider using typical food preservatives. They can be helpful against some, but not all, organisms.
- Temperature: As with many foods, low temperature reduces the food safety risk. Ferment quickly and chill quickly. Make additions (including hops) at cold temperatures. Do not harvest and repitch yeast, as this can carry over contaminants.
NA Yeast and NA Beer Are Different
Outside of providing food safety, ethanol not only contributes its own flavor, but it also influences the perception of other flavors in beer, both desirable and undesirable. A shift in ethanol levels alters the overall flavor balance. Couple that with unfermented maltose and maltotriose, and you have an altogether different product. This requires careful reconsideration of the remaining components and necessitates adjustments to the recipe and process to maintain the desired sensory characteristics.
Curious about how NA yeast work? Talk to an expert at Berkeley Yeast.
Yeast Selection
The yeasts in Berkeley Yeast’s NA series are the first and only Saccharomyces strains bioengineered to make NA beer that tastes like beer. These strains have been engineered to be maltose and maltotriose negative, which limits the production of alcohol. They’re also engineered to overproduce the key beer-flavor compounds at the levels you get from full-strength fermentation. So the beer actually tastes like beer and not like partially fermented wort.
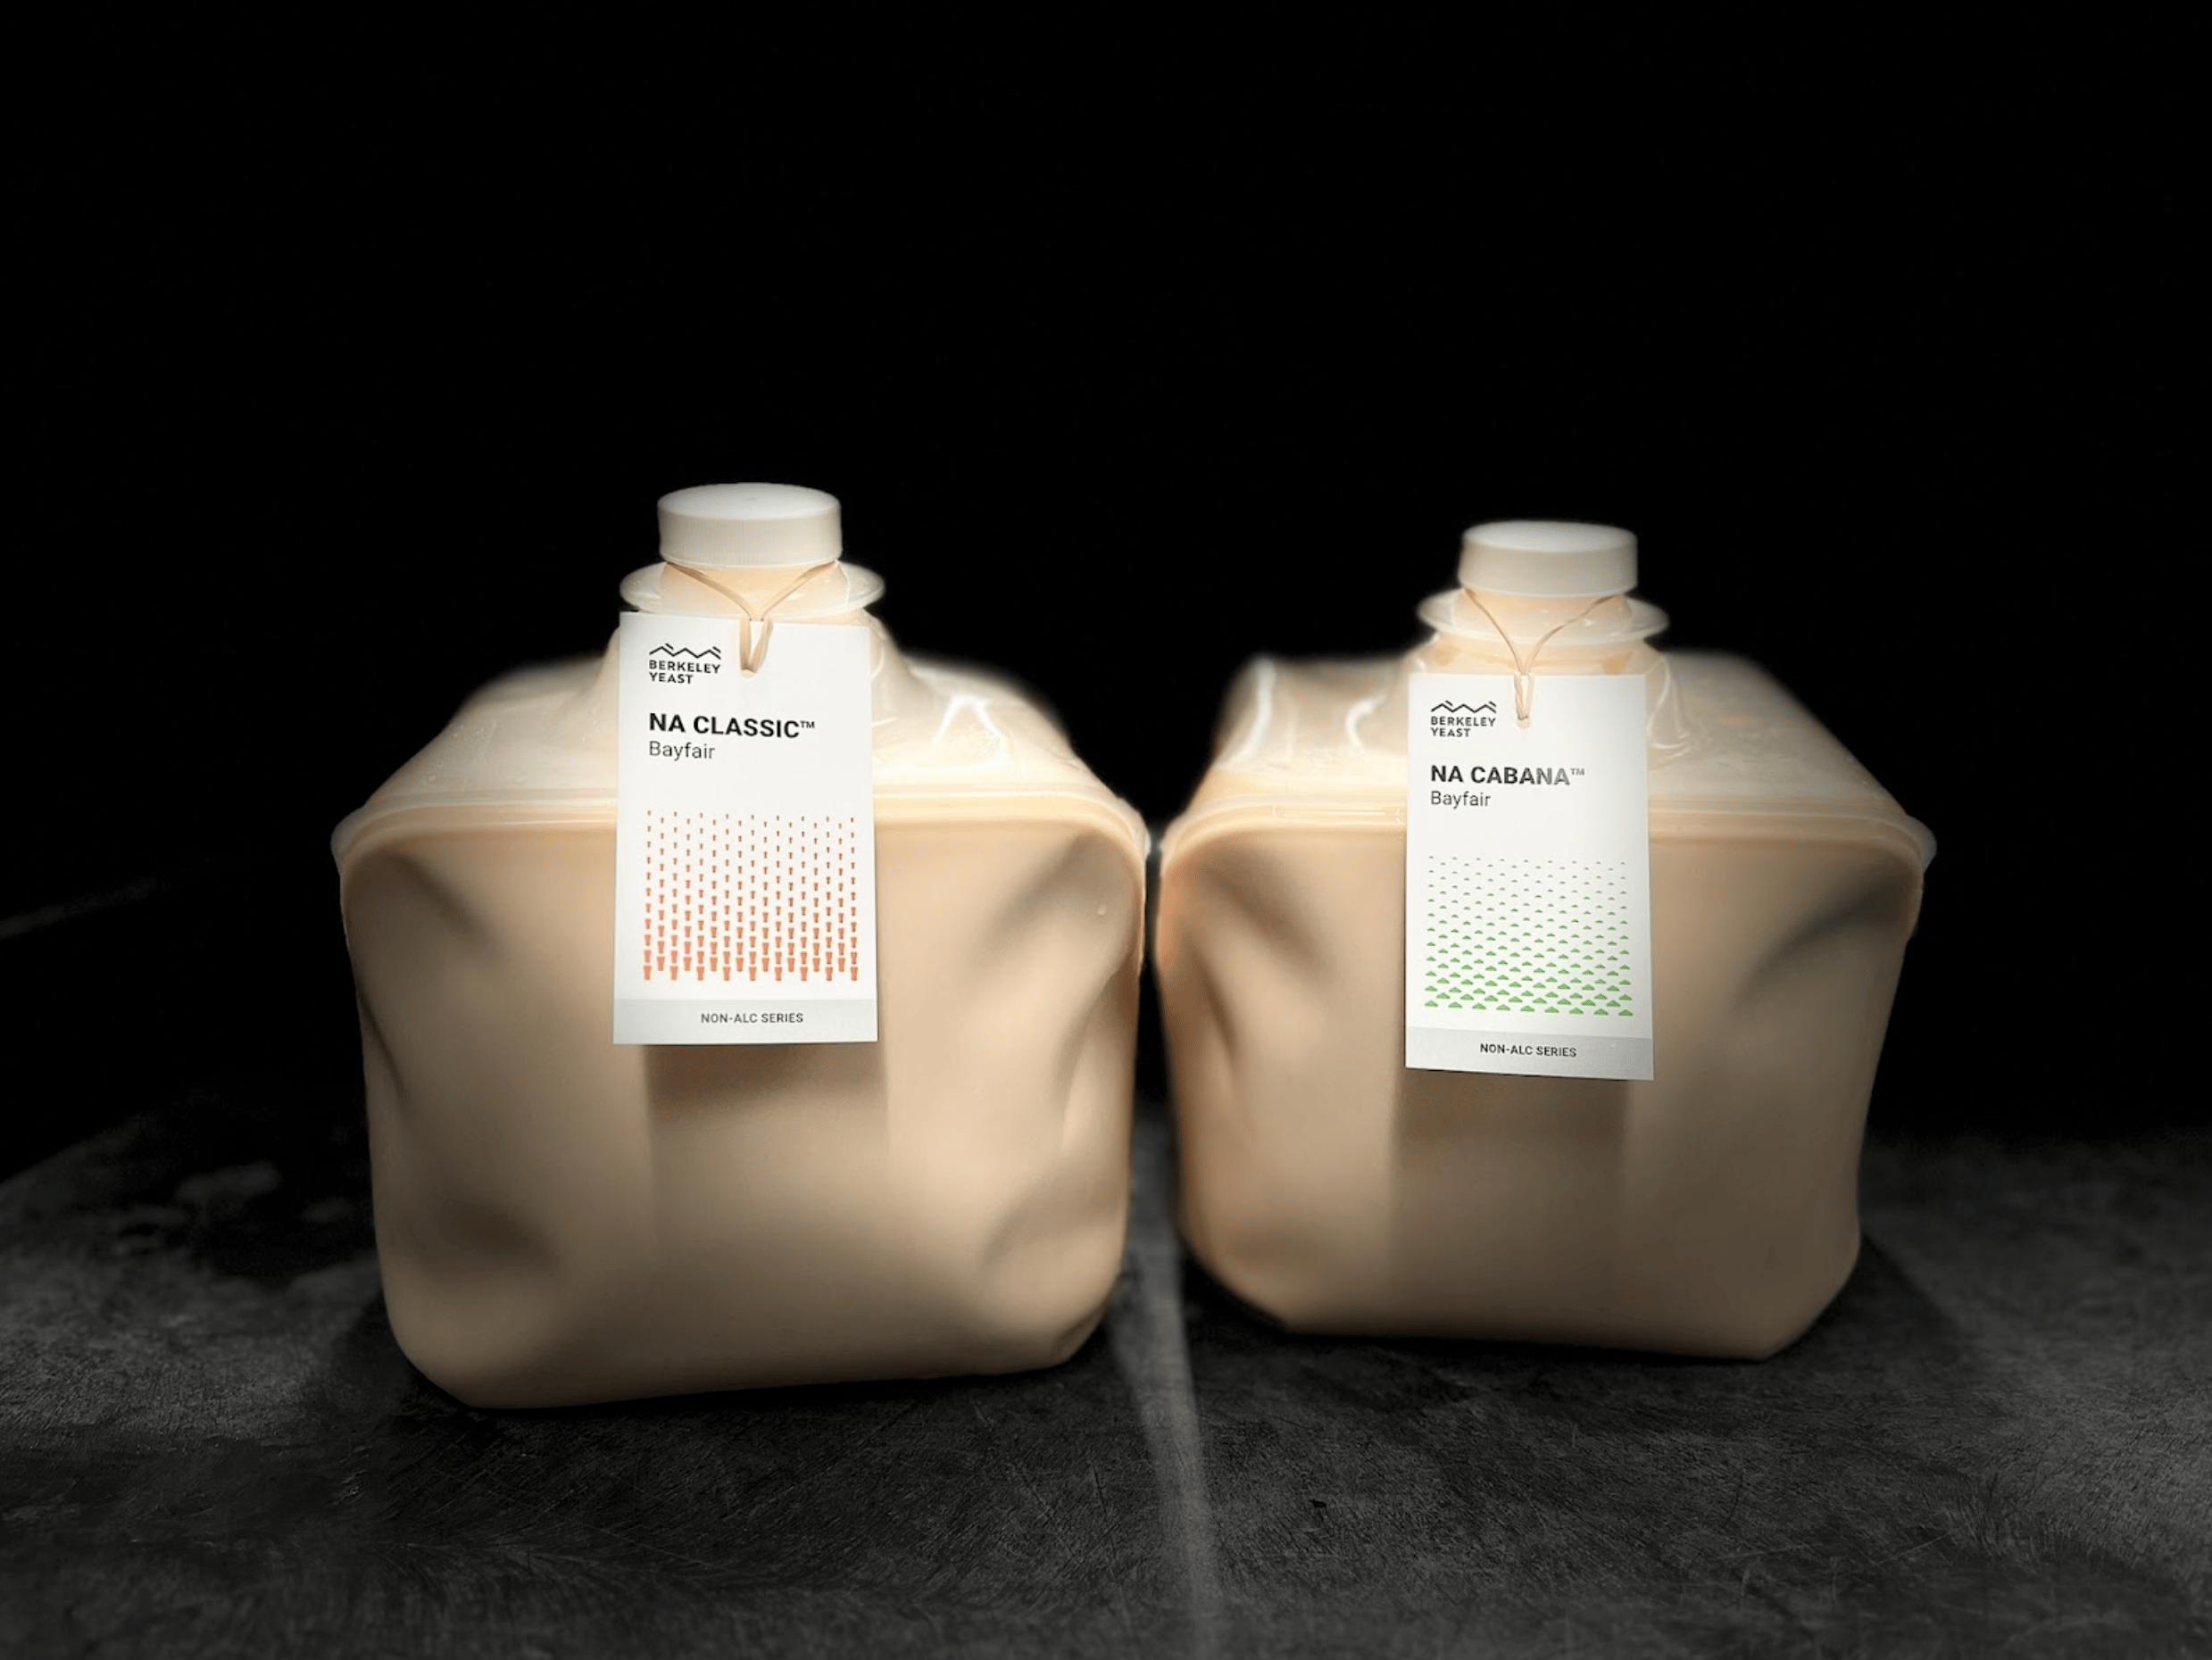
- Berkeley’s NA Classic is designed to be highly versatile, so you can use it to make a complete beer or a base layer for a flavor-forward product.
- Berkeley’s NA Cabana amplifies tropical notes and provides a solid foundation for both clear and hazy IPAs.
Targets
Start with an original gravity (OG) of 5–7°P (1.020–1.028) and target a real degree of fermentation (RDF) of 10–20 percent. A 5°P OG with a typical two-row-malt bill should yield a 0.5 percent ABV product. Higher RDF typically means more fermentation character, but also higher ABV.
Finished beer pH needs to be below 4.6 at a minimum, and ideally below 4.2.
Recipe Considerations
- Mouthfeel & Foam: Use ingredients such as wheat, maltodextrin, or dextrin malt to improve mouthfeel and foam stability. Consider tetrahydro-iso-alpha acids or hexahydro-iso-alpha acids to help with foam stability.
- Color: Design your malt bill for flavor first. Color can be adjusted downstream with malt-derived color additives.
- Acid Addition: Adjusting pH with food-grade acids will improve sensory qualities. There are blends available commercially, but consider experimenting with different acids on your own. Use them at different parts of the process. Hot-side additions can help reduce your IBUs and put you in the food-safe zone as soon as you cool your wort.
- Hops: Aim for a lower IBU target. Without ethanol, high IBUs can come off harsh. Focus on late hot-side hop additions for authentic hop character and consider hop extracts for flavor and aroma. Start with a lower dry-hop amount than you typically do for standard beer.
- Sweeteners: There are many different ways to impact the perception of sweetness—too many to list. Experiment with different sweeteners to help with balance. Note: if you are tunnel pasteurizing, you can use glucose or fructose in post-fermentation chilled product; you will inactivate the yeast through pasteurization.
- CO2: Aim for higher CO2 levels during packaging to enhance sensory quality and safety.
Benchtop tests: Early in your NA journey, it is incredibly helpful to conduct benchtop tests with different downstream additives (e.g., acids, sweeteners, colorants, mouthfeel, flavorings). You can quickly increase your experience understanding how to balance NA beer by benchtopping hundreds of different variations from a single brew.
Recipes
We've put together a couple of recipes to highlight the ingredients and process to brew a delicious NA beer at your brewery:
- Recipe: Tim Sciascia’s NA West Coast IPA: Brewing a tasty nonalcoholic beer is dramatically different from brewing one of normal strength—but this recipe provides a great jumping-off point for making something pleasurably hoppy but without the alcohol.
- Recipe: Tim Sciascia’s NA Light “Lager”: NA beer production’s shortened fermentation can move this “lager” from grain to glass in as little as one week.
Process Tips
- Mash: Use a higher mash temperature (160–165°F/71–74°C) and shorter rest times (~5–10 minutes) to limit fermentability and control RDF. Increase your liquor-to-grist ratio and consider increased acid additions to avoid high pH through lautering.
- Lautering: Use rice hulls if your lauter bed is too shallow.
- Cooling: Be mindful of freezing risks in the cooling process, as NA beer may freeze at higher temperatures than regular beer.
- Filtration: Always use clean filters to prevent contamination. Removing yeast before pasteurizing will lead to improved finished beer flavor.
Packaging and Pasteurization
- Bottles and Cans: The best format for packaging your beer is in bottles and cans. Kegs and draft lines have a much higher risk of contamination and are not recommended.
- Packaging Process: Compared to traditional beer packaging, NA packaging should occur at higher beer temperatures, higher carbonation levels, and lower foamability. Adjust your packaging line accordingly to reduce beer waste and decrease dissolved-oxygen (DO) pick up.
- Pasteurization: Tunnel pasteurization is the best way to ensure your beverage is free from spoilage and pathogenic organisms.
Testing and QA/QC
Routine testing for pH, flavor, and microbial contamination is crucial throughout the process. Work with a process authority (recommended, although not required for NA beer) to validate safety and quality.
Adopting these best practices can help minimize risks and improve the sensory characteristics of your NA beer.
Have questions? Reach out!
About the Authors
Anthony Bledsoe is an experienced leader with a diverse background in quality, process improvement, brewing, operations, and innovation. After graduating from the UC Davis Master Brewers Program, he worked across small craft breweries such as Kona Brewing (as the director of brewing ops), regional breweries such as Craft Brew Alliance and Tilray, and global operations with AB InBev (as the innovation manager).
In January 2024, Anthony became Berkeley Yeast’s VP of product strategy. He works closely with all departments to help us continually push the technology of fermentation forward, and he helps our customers identify opportunities and provide solutions informed by working at breweries of every conceivable scale.
Tim Sciascia was hired in 2008 as a cellar person at Marin Brewing Co. north of San Francisco. Over five years, he moved up through the cellar and filtration positions, finally becoming the assistant brewer.
In 2013, Tim cofounded Cellarmaker Brewing Co. as the director of brewing and blending. Over 11 years, he helped grow Cellarmaker to nearly 6,000 barrels on dual 15- and 20-barrel systems. Hops and barrel-aged strong ales have always been of particular interest to him, and he has fermented award-winning beers with Berkeley Yeast strains for more than five years. Tim is now brand ambassador at Berkeley Yeast.